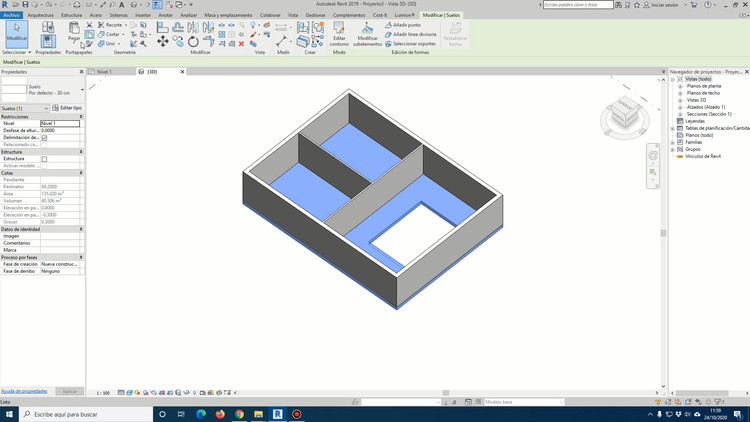
Floors, roofs, ceilings. Speaking in a very generic way, they are practically all the horizontal elements that we can find in the construction of a building. These three parts have a very similar way of modeling in Revit and this is the reason why when learning this software, they almost always appear one after the other. The order is usually a rather logical and therefore similar order: starting first with the floors, later the soffits and, finally, the ceilings. All this, clearly after having modeled the exterior and interior walls of our building.
For the creation of floors it is important to have previously modeled the walls since we can or even must reference the floors to the pre-existing walls. Let's remember that to have the walls ready, we should have managed all the levels of the project at the beginning of the modeling.
As with almost all items in Revit, floors can be duplicated and created as many types as necessary. Special attention will have to be paid to the level of detail (LOD: Level of Development) of the project. This level of information will condition us to create more or less types of floors depending on the materials they are made of.
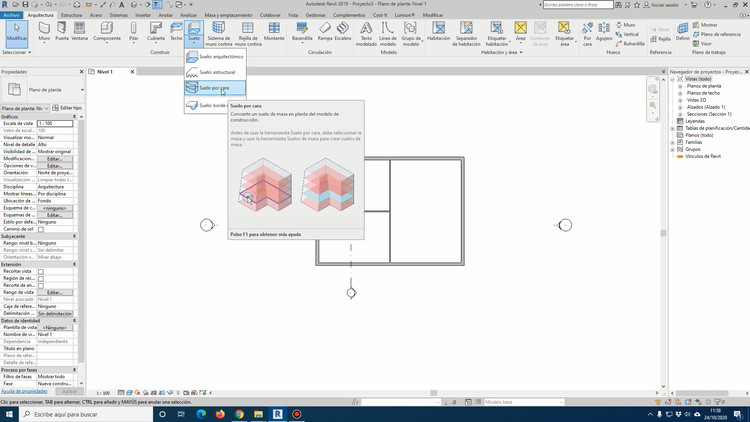
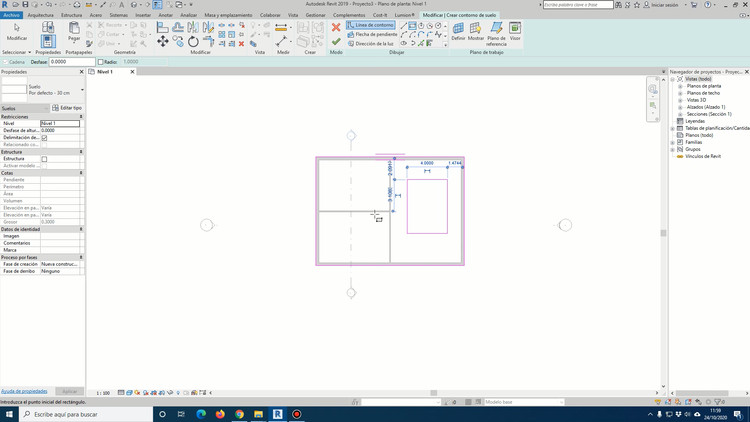
The floors are modeled by contour, that is, we will have to indicate on a floor plan what the perimeter of the floor is. That is why the most suitable methodology for doing them will be to reference this contour to the route marked by the facade walls. Likewise, if we want to make holes in the ground for the location of elements such as stairs or installation cubes, we must create an interior contour which Revit will understand as a hole. Finally, we can apply a slope arrow to the floors with the final and initial extreme levels defined, which will help us to create floors with a specific slope or ramps.
In the case of the ceilings, it is essential to model the walls beforehand, since these will allow us to place the panels in each of the rooms. In addition to, as in the case of floors that we can place panels by sketch, we can also place panels automatically. This is the easiest way to do it, but yes, as long as Revit finds a space enclosed by walls.
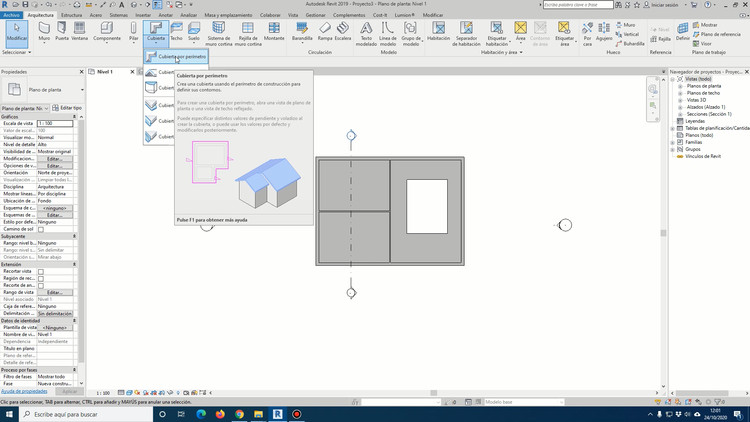
Finally, the case of the roofs is a little larger. We know in advance that there are sloping or flat roofs and it must be said that Revit does not distinguish between the two. Modeling roofs in Revit is also done in much the same way as for floors and ceilings by sketch. We will have to take as a reference the exterior walls of the facade and from them, applying offsets (roof overhang) and slopes by sections, we can easily model our roofs.
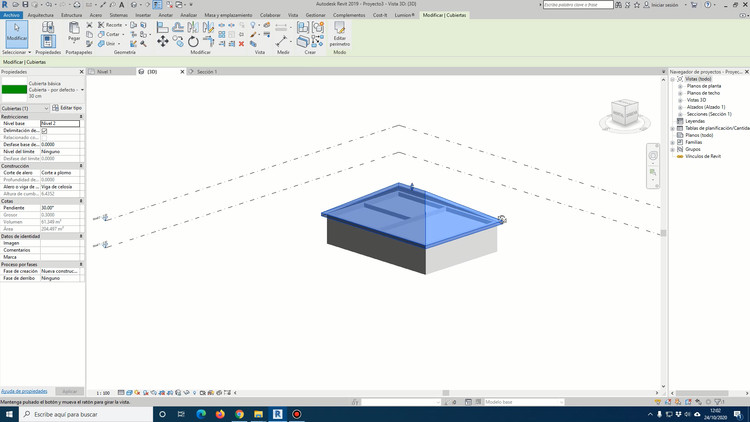
In the particular case of flat roofs, it will simply be necessary to eliminate any positive slope and add a very small negative slope to it, in the event that we want to include the water evacuation slopes. Although if our level of project detail is high, this formation of slopes of water evacuation will be carried out due to the modification of the sub-elements of the roofs. This is a slightly more complex way of doing these types of elements that you can see and analyze in detail in the tutorials and lessons of the GoPillar Academy BIM courses.
If you want to become a BIM expert modeler, you can enroll now in a full 14-hour Autodesk Revit BIM Families Course.

